Are you dealing with a stubborn bathroom sink stopper that won’t budge? Don’t worry; we’ve all been there. A stuck or clogged stopper can be a real pain, but with the proper techniques, you can easily remove it and get your sink back in top shape. This comprehensive guide walks you through the step-by-step process of removing a bathroom sink stopper, whether it’s a push-and-pull, lift-and-turn, or pop-up style.
Try to Remove by Hand
Before reaching for tools, it’s always a good idea to attempt removing the sink stopper by hand first. Gently wiggle and pull the stopper to see if it will dislodge. Sometimes, a little elbow grease is all it takes to free a stuck stopper. However, it’s time to explore other removal methods if it doesn’t budge after a few tries.
Locate the Horizontal Rod
If you have a pop-up sink stopper, you’ll need to locate the horizontal rod that controls the stopper mechanism. This rod is usually located behind the faucet and connects to a strap with several holes. Identifying the stopper type is crucial before proceeding with the removal process.
5 Steps to Remove the Stopper
Step 1: Identify Your Stopper Type
The first step is to determine the type of sink stopper you have. The most common types are:
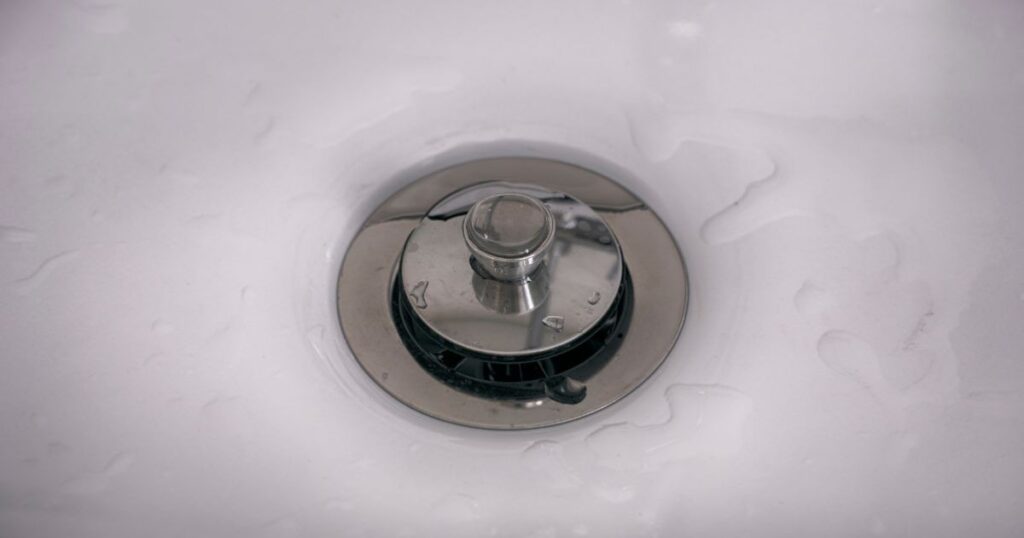
- Push-and-pull: These stoppers have a knob or cap that you push down to close the drain and pull up to open it.
- Lift-and-turn: Like push-and-pull, you lift the stopper to open the drain and turn it to close.
- Pop-up: These stoppers have a lever or knob behind the faucet that controls a pop-up stopper in the drain.
Step 2: Set Up Your Workspace
Before you begin, setting up your workspace is a good idea. Lay down a towel or cloth under the sink to catch any water, debris, or small parts that might fall during removal. Depending on your stopper type, gather the necessary tools, such as an Allen wrench or a flathead screwdriver.
Step 3: Remove the Stopper
Now, it’s time to remove the stopper. Follow these steps based on your stopper type:
Push-and-Pull or Lift-and-Turn Stoppers
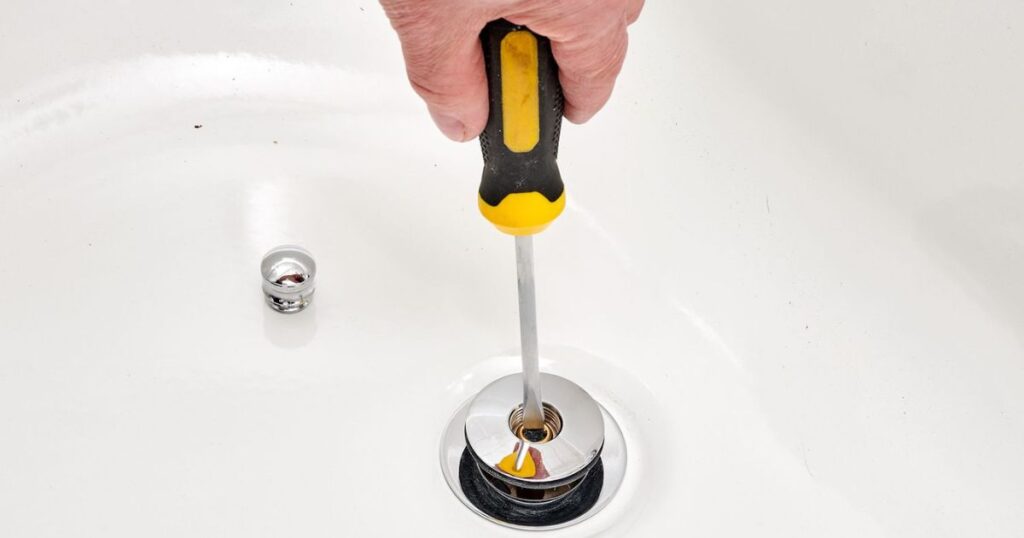
- Locate the set screw under the stopper’s cap. A decorative cover or cap often conceals it.
- Using an Allen wrench or a flathead screwdriver, unscrew the set screw by turning it counterclockwise.
- Once the set screw is loose, you should be able to pull the stopper straight up and out.
Pop-Up Stoppers
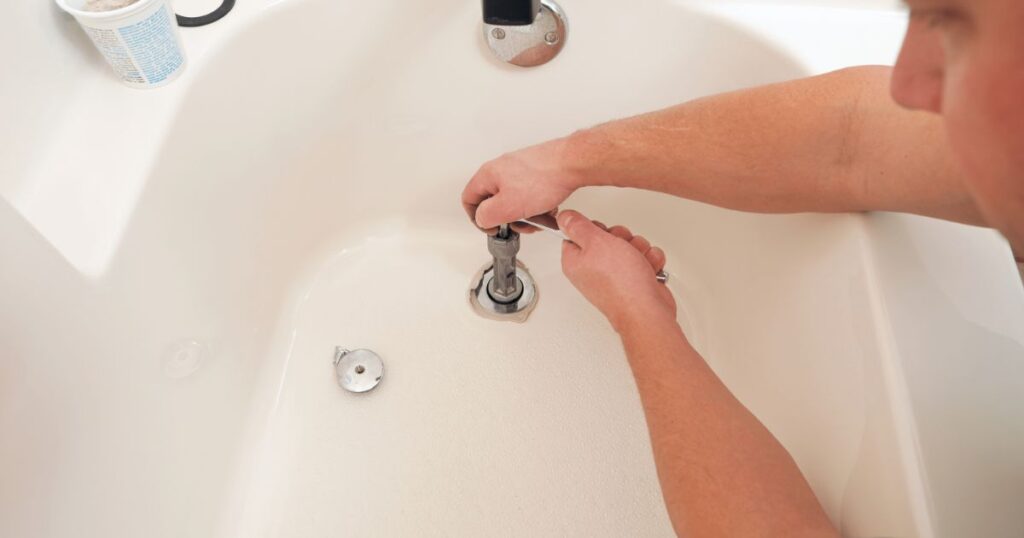
- Look for the lift rod behind your faucet that controls the stopper.
- Under the sink, locate where this rod connects to a strap with several holes.
- Unscrew the pivot nut that holds the rod in place.
- From above, you should now be able to remove the stopper.
Step 4: Clean and Inspect
With the stopper removed, take this opportunity to clean it thoroughly. Remove any gunk, hair, or debris underneath the stopper and drain pipe. A small brush or an old toothbrush can be handy for scrubbing stubborn grime.
Once cleaned, inspect the stopper and the drain for any signs of damage or wear and tear. Replacing the stopper with a new one is best if it is cracked, warped, or otherwise damaged.
Step 5: Put It All Back Together
If everything looks good, it’s time to reassemble the stopper. Reverse the removal process, making sure to tighten the set screw or pivot nut securely but not too tight to avoid cracking or damaging the stopper or drain components.
Here’s a quick summary of the steps:
- For push-and-pull or lift-and-turn stoppers, place the stopper back in the drain and secure the set screw.
- For pop-up stoppers, insert the stopper from above and reconnect the lift rod to the strap under the sink, securing it with the pivot nut.
Ensure that the stopper moves freely and creates a tight seal when closed.
Do you need to remove a bathroom sink stopper to replace a faucet?
While removing the sink stopper isn’t always necessary when replacing a faucet, there are a few good reasons to consider doing so.
Clear Workspace
Removing the stopper can give you more room to maneuver, especially when working in tight spaces under the sink. This extra workspace can make the faucet replacement process smoother and less frustrating.
Opportunity for a Deep Clean
Since you’ll already be working on the sink area, why not take the opportunity to clean the stopper deep and drain? A thorough cleaning can help ensure optimal drainage and prevent future clogs or buildup.
Check for Concurrent Issues
By removing the stopper, you can inspect the drain for any issues that might affect the performance of your new faucet. For example, you might discover a partial clog or a drain pipe crack that must be addressed before installing the new faucet.
And There You Have It!
While not a strict requirement, removing the sink stopper during a faucet replacement can provide several benefits, including a more straightforward workspace, an opportunity for deep cleaning, and the ability to identify and address any potential issues with the drain. It’s a simple step that can help ensure a smoother installation process and better overall sink performance.
Read More Posts
How Much Does A Bathroom Remodel Cost?
FAQs
How do you remove the bathroom sink stopper?
Locate the pivot rod under the sink, unscrew the retaining nut, and pull out the pivot rod to remove the stopper.
How do you remove a sink stopper without a lift rod?
Reach under the sink to access the stopper mechanism, unscrew the nut or clip holding it, and lift the stopper from above.
How do you remove a suction sink stopper?
Gently pull upward on the stopper to release the suction, twist if needed, and lift it out of the drain.
How do you remove a sink plug-hole?
Use a sink drain wrench or pliers to loosen the retaining nut beneath the sink, then pull the plug out from above.
Conclusion
Removing a bathroom sink stopper might seem daunting, but it can be a straightforward DIY project with the proper techniques and a little patience. By following the steps outlined in this guide, you’ll easily tackle push-and-pull, lift-and-turn, and pop-up stoppers.
Regularly cleaning your sink stoppers and drains can prevent clogs and prolong their lifespan. Feel free to remove and clean the stopper periodically or seek professional assistance if you encounter any stubborn clogs or issues.
We hope this comprehensive guide has given you the knowledge and confidence to tackle your stuck or clogged bathroom sink stopper. If you have any further questions or experiences to share, feel free to leave a comment below.